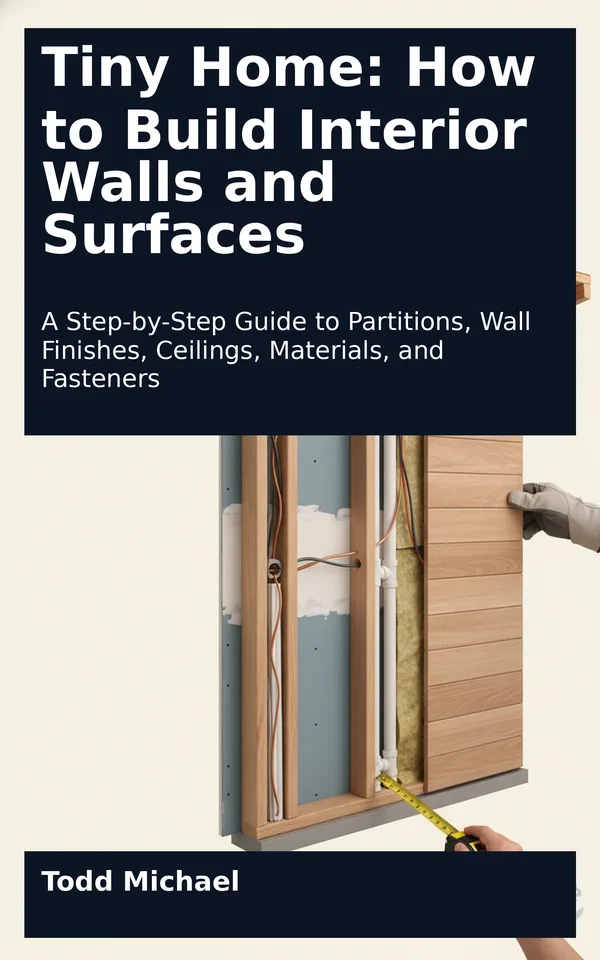
Read a sample: 1. Start With a Weather-Tight Shell
A weather-tight shell is an exciting place to begin. The roof is overhead, the exterior walls define the space, and the first interior partition can make the building feel less like a box and more like a home. It is also the point at which a little patience can prevent a great deal of rework.
Before buying a stack of paneling or fastening a wall to the floor, take stock of what is already there. An interior finish does more than make a room look complete. It covers framing, conceals wiring and plumbing, adds weight, changes how surfaces dry, and sometimes makes later repairs difficult. The better you understand the shell now, the more confidently you can decide what belongs inside it.
This chapter will help you assess the starting conditions, create a useful record, and understand the order in which the work belongs. You do not need every material selected or every partition drawn before you begin. You do need a clear picture of the structure you have, the questions that remain, and the work that must happen before anything is covered.
For this book, a weather-tight shell has a completed exterior enclosure intended to keep ordinary weather out: a roof, exterior walls, installed windows and exterior doors, and the associated exterior water-management details. The floor and its supporting structure are in place. Openings that will eventually receive vents, pipes, or other components are protected until those components are properly installed.
Weather-tight does not mean the building has been proved leak-free forever. Nor does it mean the interior is dry enough to cover, the insulation is complete, or the building is ready to occupy. A shell can look finished from the outside and still have a damp subfloor, an unfinished window detail, or an opening where water can enter during wind-driven rain.
Walk around the building after a rain if you can do so safely. From outside, look for damaged roofing, incomplete exterior trim, exposed openings, and places where water appears to collect or run toward the structure. Inside, look around windows, doors, roof penetrations, wall bottoms, and floor edges for staining, dampness, swelling, or a musty odor. If the shell has been closed up for some time, open it and notice whether the air feels unusually humid.
A dry surface on one visit is encouraging, but it is not a complete test. A stain may be old, or it may mark an active leak that appears only under particular conditions. Trace suspicious marks to their source rather than simply covering them. If you cannot determine whether a leak is active, or if framing or sheathing appears deteriorated, get help from a qualified building professional before proceeding.
The purpose of this first walk-through is not to make you distrust every mark. It is to keep a small, accessible problem from becoming a hidden one.
Tiny homes take several forms, and their differences matter long before the finish material goes on. A compact cabin on a permanent foundation, a small dwelling on a chassis, and a trailer-based home may look similar inside while relying on different methods of support and restraint.
In a foundation-based building, loads pass through the structure to the foundation and ground. The construction documents, if available, should show how the floor, exterior walls, roof, and any structural interior walls work together. An existing wall that seems inconvenient may be carrying part of the roof or stiffening the building. Do not remove, cut, or alter it merely because it appears to be a simple partition.
A movable home must support its own weight while parked and also endure forces associated with lifting, towing, or other movement. The chassis, floor, walls, and roof may have been designed as an interconnected system. Weight distribution and the way interior elements are secured can affect that system. A partition that performs acceptably in a stationary cabin should not automatically be assumed suitable for a trailer-based home.
For either type, identify the information you already have:
- Plans, permits, inspection records, and any approved changes.
- Manufacturer or builder instructions for the shell, chassis, windows, and other major components.
- Records of framing, sheathing, insulation, and concealed services.
- Weight information and load limits supplied for a movable build.
- Contact details for the original builder, designer, or manufacturer, if available.
These records may be incomplete, especially with a purchased or partially finished shell. That does not end the project, but it changes how you proceed. Make a list of what is unknown and seek answers before making changes that depend on those answers. A qualified designer, engineer, inspector, or experienced builder may be able to assess conditions that are not obvious from a visual inspection.
This book focuses on non-load-bearing partitions: interior walls intended to divide space rather than support the structure above. Even so, those partitions must be attached appropriately and coordinated with the building’s movement, services, and applicable requirements. If you are unsure whether a wall or framing member is structural, treat the question as unresolved until a qualified person has assessed it.
Bring a notebook, a measuring tool, a light, and a camera or phone. The goal is not to diagnose every defect on the spot. Work from one end of the building to the other, then look up and down so you do not miss the less visible surfaces.
Start with the floor. Note soft spots, swollen…