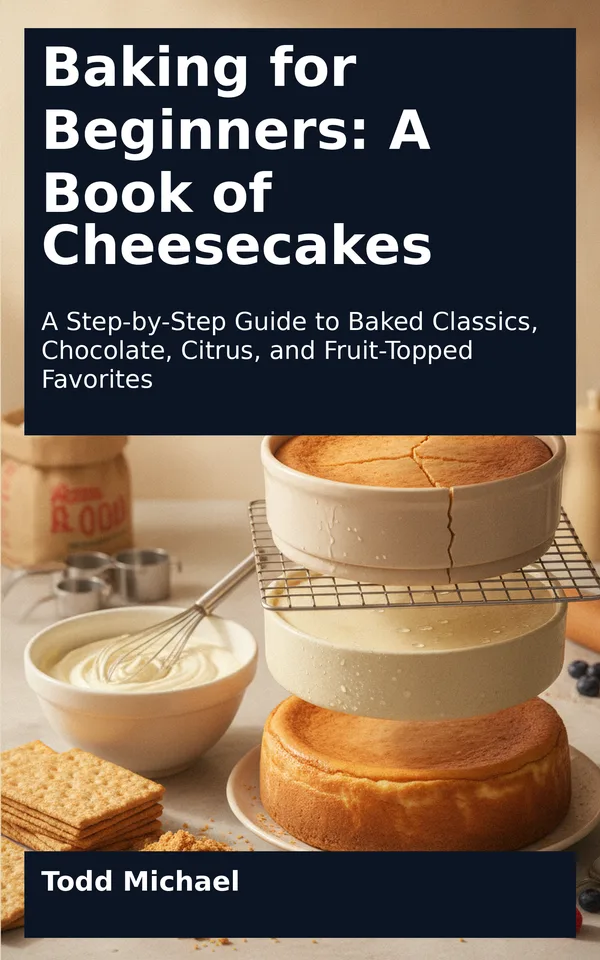
Read a sample: The Six Stages of a Baked Cheesecake
Think of your cheesecake as a project with six stages. Each has its own purpose, and none needs to feel rushed.
First, read the entire recipe. Check the pan size, ingredient quantities, oven temperature, and any directions for lining the pan or protecting it from water. Gather what you need before mixing; discovering that you are short an egg halfway through is an avoidable interruption.
A springform pan is a common choice because its removable sides make a chilled cheesecake easier to release. Make sure the base is seated securely and the latch is closed. If the recipe calls for parchment, cut and position it before adding the crust.
Some ingredients mix more smoothly when they have lost their refrigerator chill. Follow the recipe’s preparation directions, and set out only what you need for the mixing session. Chapter 2 explains ingredient temperature, measuring, and pan preparation in more detail.
Most beginner cheesecakes start with crumbs mixed with melted butter, sometimes with a little sugar. The mixture should be evenly moistened so it holds together when pressed. Pack it into the pan in an even layer, paying attention to the edges, where crumbs can collect more thickly than in the center.
Some crusts are briefly baked before the filling is added; others are prepared differently. Follow the recipe rather than assuming every crust needs the same treatment. If prebaking is called for, give the crust the cooling time specified before proceeding.
An uneven crust rarely ruins a cheesecake, but a consistent layer makes slices easier to serve and gives each bite a pleasant balance. Chapter 3 walks through crumb texture, pressing, prebaking, and the basic crusts used throughout this book.
Smooth filling starts with cream cheese that can be beaten without leaving firm lumps. Sugar and other ingredients are added in the order given, with pauses to scrape the bowl and beater. Those pauses matter: a pocket of cream cheese stuck to the bottom can survive several minutes of mixing unnoticed.
Eggs generally go in after the cream cheese mixture is smooth. Once they are added, mix gently and only until incorporated. You want a cohesive filling, not a cloud of whipped batter. Too much air can encourage the cheesecake to rise and fall more dramatically, increasing the chance of an uneven surface or cracks.
Look for a batter that is smooth, thick, and pourable, with no obvious streaks of unmixed egg or cream cheese. Chapter 4 gives you a closer look at mixing order and what the batter should look like.
The prepared filling goes into the crust, and the pan goes into a preheated oven. Some recipes use a water bath: the cheesecake pan sits in a larger pan with hot water around it. The water helps moderate the heat around the filling, but it also requires careful handling and protection against leaks. Other recipes bake without one. Use the method specified.
Start checking for doneness near the early end of the recipe’s time range. Oven temperatures vary, and a cheesecake’s depth and pan can affect how quickly it bakes. Open the oven carefully and give the pan a gentle nudge. The outer area should look set, while a small area in the center should wobble softly, rather like gelatin. The center should not look liquid or send ripples across the filling.
The surface may appear slightly puffed near the edges. It will settle as it cools. Do not rely on a particular color alone: some cheesecakes remain pale when properly baked. Chapter 5 explains oven setup, water baths, and doneness cues in greater detail.
Cooling begins as soon as the cheesecake comes out of the oven, or according to the recipe’s instructions if it includes a brief period in the turned-off oven. A gradual transition away from oven heat can lessen the abrupt contraction that contributes to cracks. It is not a guarantee of a flawless top, and it should not become an excuse to leave a perishable cheesecake out indefinitely.
Follow the recipe’s cooling sequence, then refrigerate the cheesecake promptly rather than waiting for the center to become firm at room temperature. Refrigeration finishes the setting process and makes the filling easier to unmold and slice. A freshly baked cheesecake may seem soft; a thoroughly chilled one has a different, more cohesive texture.
Once the cheesecake is fully chilled, release it from the pan as directed. Some recipes are lovely served plain; others receive a layer of sour cream, chocolate, citrus, or fruit. Add toppings when the recipe instructs, especially if a warm topping could soften the filling or make the surface wet.
For neat slices, use a long, sharp knife and wipe it between cuts. Presentation improves with practice, but a slightly untidy slice tastes just as good. Chapter 14 offers more help with finishing, slicing, and keeping leftovers.